Gravity Forms has a nice tutorial on creating a form, well worth a read if you haven’t created a basic form yet.
Tip: use Advanced fields

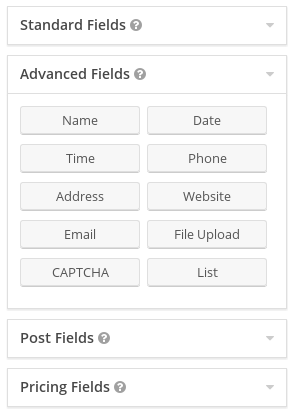
It’s usually a good idea to make use of the Advanced fields when building your forms. They can make it much easier to collect information from customers, and some perform extra validation to prevent bad data (e.g. simple email address errors).
When using a Name field, be sure to include both first and last name subfields so that you can map these to your Eway transaction customer name fields. When creating Token Payments customers, you probably should turn on the Prefix subfield (Mr, Mrs, etc); if you don’t, Eway will create all your customers as Mr.
Add a Product field

Payment forms need to have something with a cost that they can use in the transaction. You do that by adding one or more Product fields to your form.

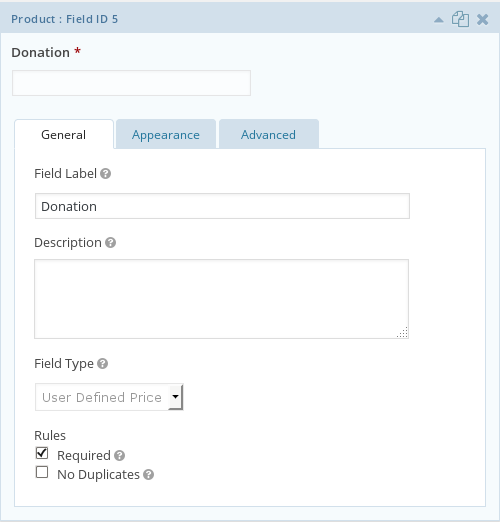
For a basic user-entered donation amount, add a Product field and change its field type to User Defined Price. You can then change the field label to show that it’s the donation amount.
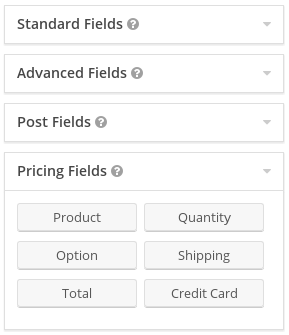
Product fields are very flexible, and can have extra fields added to extend them, such as Quantity, Option, and Shipping fields. You can also add a Total field if you need to show a calculated total on your form.
